Which method is the right one?
Density determination for AM components
The future of density determination
In additive manufacturing (AM), micrograph analyses are the current benchmark when assessing the porosity of components or the density cubes to be printed along with them. This process is very time-consuming, and ties up staff resources for a long period of time. In addition, a conventional traceability to calibration standard is not possible, as a grey value binarisation takes place according to the parameter set.
Significance of density for AM COMPONENTS
In addition, a single micrograph only ever shows a “snapshot” through the component and not, therefore, a true complete evaluation of the entire component. Through the automated measuring operation of the Dimensionics Density solution, this is avoided.
Initial studies show a good correlation between micrograph analyses and the determination of porosity on the basis of density. The determination of the porosity via the volume density using Dimensionics Density’s solution therefore constitutes a calibrated and traceable solution.
AM parts can be made in a range of different materials, via a range of different build processes, and many can exhibit extraordinary geometric complexity. The effort to determine the density of a workpiece increases with its complexity, and since AM parts are often not full volume but have an internal support structure, theoretical control values are determined during the design and used as a reference for the post-study analysis.
Defined cuboids are usually printed for this purpose, which subsequently provide information about the density of the complex workpiece through manual measurements or time-consuming micrographs. Using a relative method, the determined density of the cuboid is equated with that of the component and compared with the data determined using CAD models. As a result, possible deviations due to faults in the support structure can often not be detected.
Alternative methods
Beyond automated density determination using the Density Platform, what other methods exist? Here we offer a brief overview and list the
advantages and disadvantages of the respective systems.
Micrograph analysis is a method for the qualitative and quantitative description of the microstructure of materials. The sample/component is segmented and the surface of the cut surface is prepared by mechanical and chemical methods. This is followed by a microscopic analysis of the component.
Advantages:
- High-precision process
- Results provide clear conclusions about process errors
Disadvantages:
- High effort in the preparation of micrographs (ties up personnel)
- resulting waiting times
- Not optimal for effective process handling

In computed tomography (CT), the specimen is exposed to X-rays. The density influences the brightness of the exposed imaging sensor. X-rays are absorbed during transmission through the material; this absorption is stronger at higher densities of the material. If an X-ray beam hits a pore during transmission through the material, the energy is absorbed less due to the lower density within the pore. Therefore, the radiation hits the detector with a higher energy and produces a darker image. By using a three-dimensional exposure strategy, it is possible to determine the shape and position of the pores.
Advantages:
- Precise three-dimensional representation of pores and pore clusters in the component
- Expression, accumulation and shape of pores can be analysed
Disadvantages:
- High initial investment
- Use of trained personnel required
- Microporosities no longer recognisable due to resolution limit
- Waiting times due to post-processing of raw data to eliminate artefacts in the image.
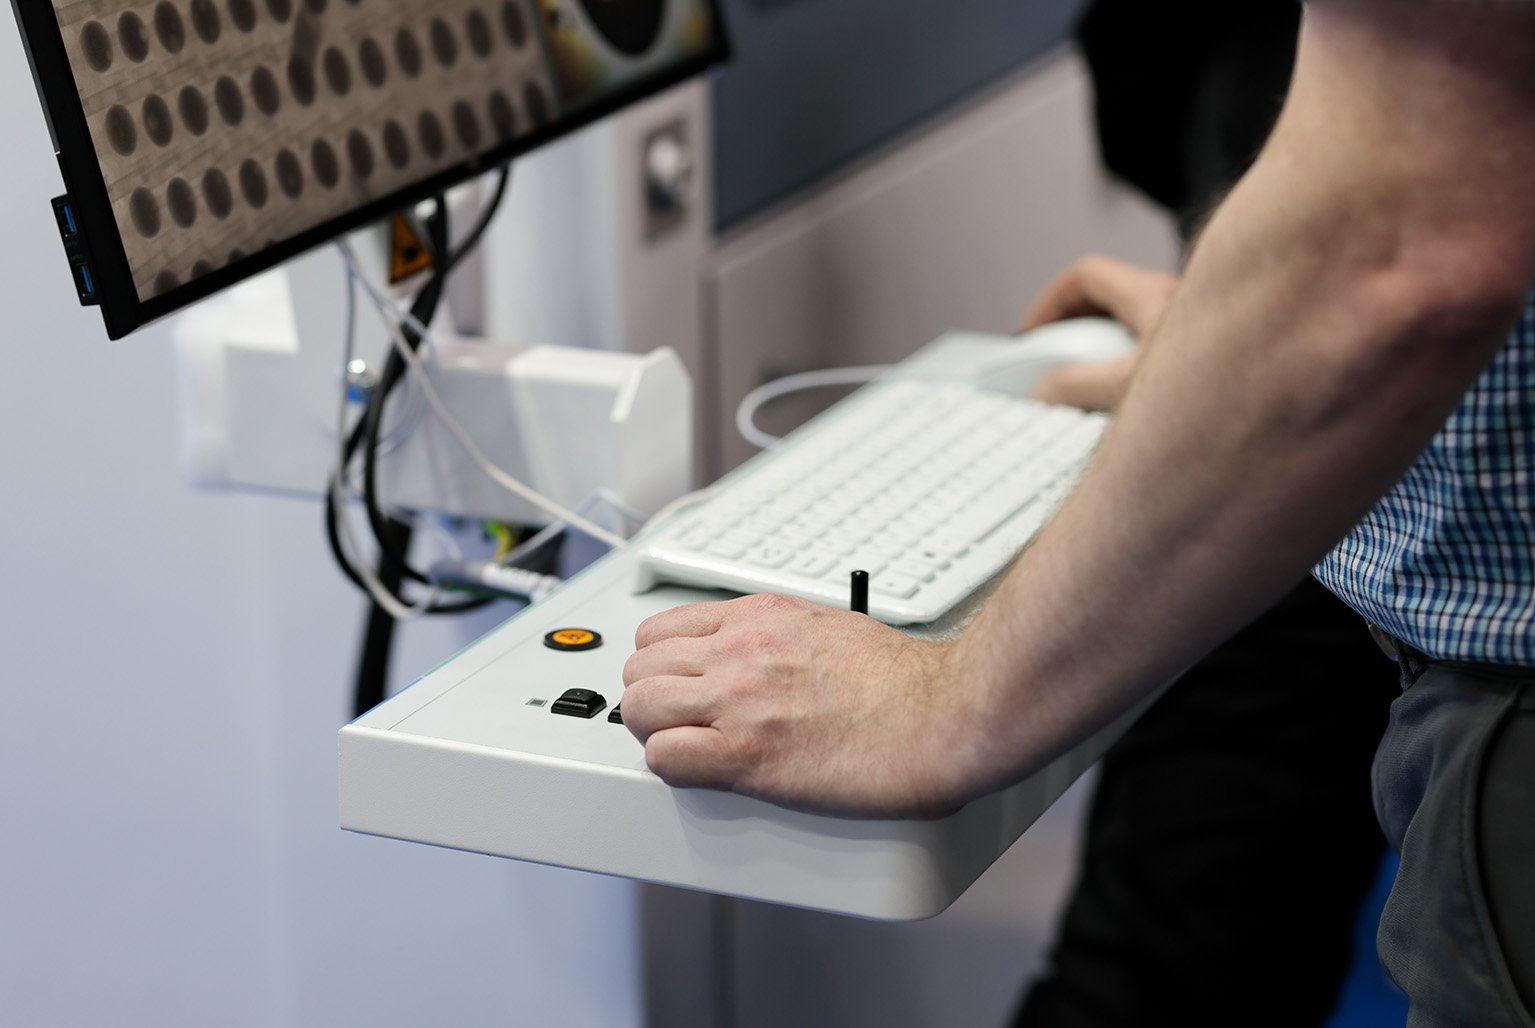
Density determination according to Archimedes is one of the most common methods in many industries. Density kits, special laboratory balances with a suitable measuring set-up, are used for this. The sample is then weighed in air and in a defined liquid. The density of the component is determined from the difference.
Advantages:
- Fast analysis method
- Archimedes highest accuracy according to studies
Disadvantages:
- Strong human influence (skilled workers needed)
- Measurement only in the laboratory (long distances)
- Unsuitable for high quantities
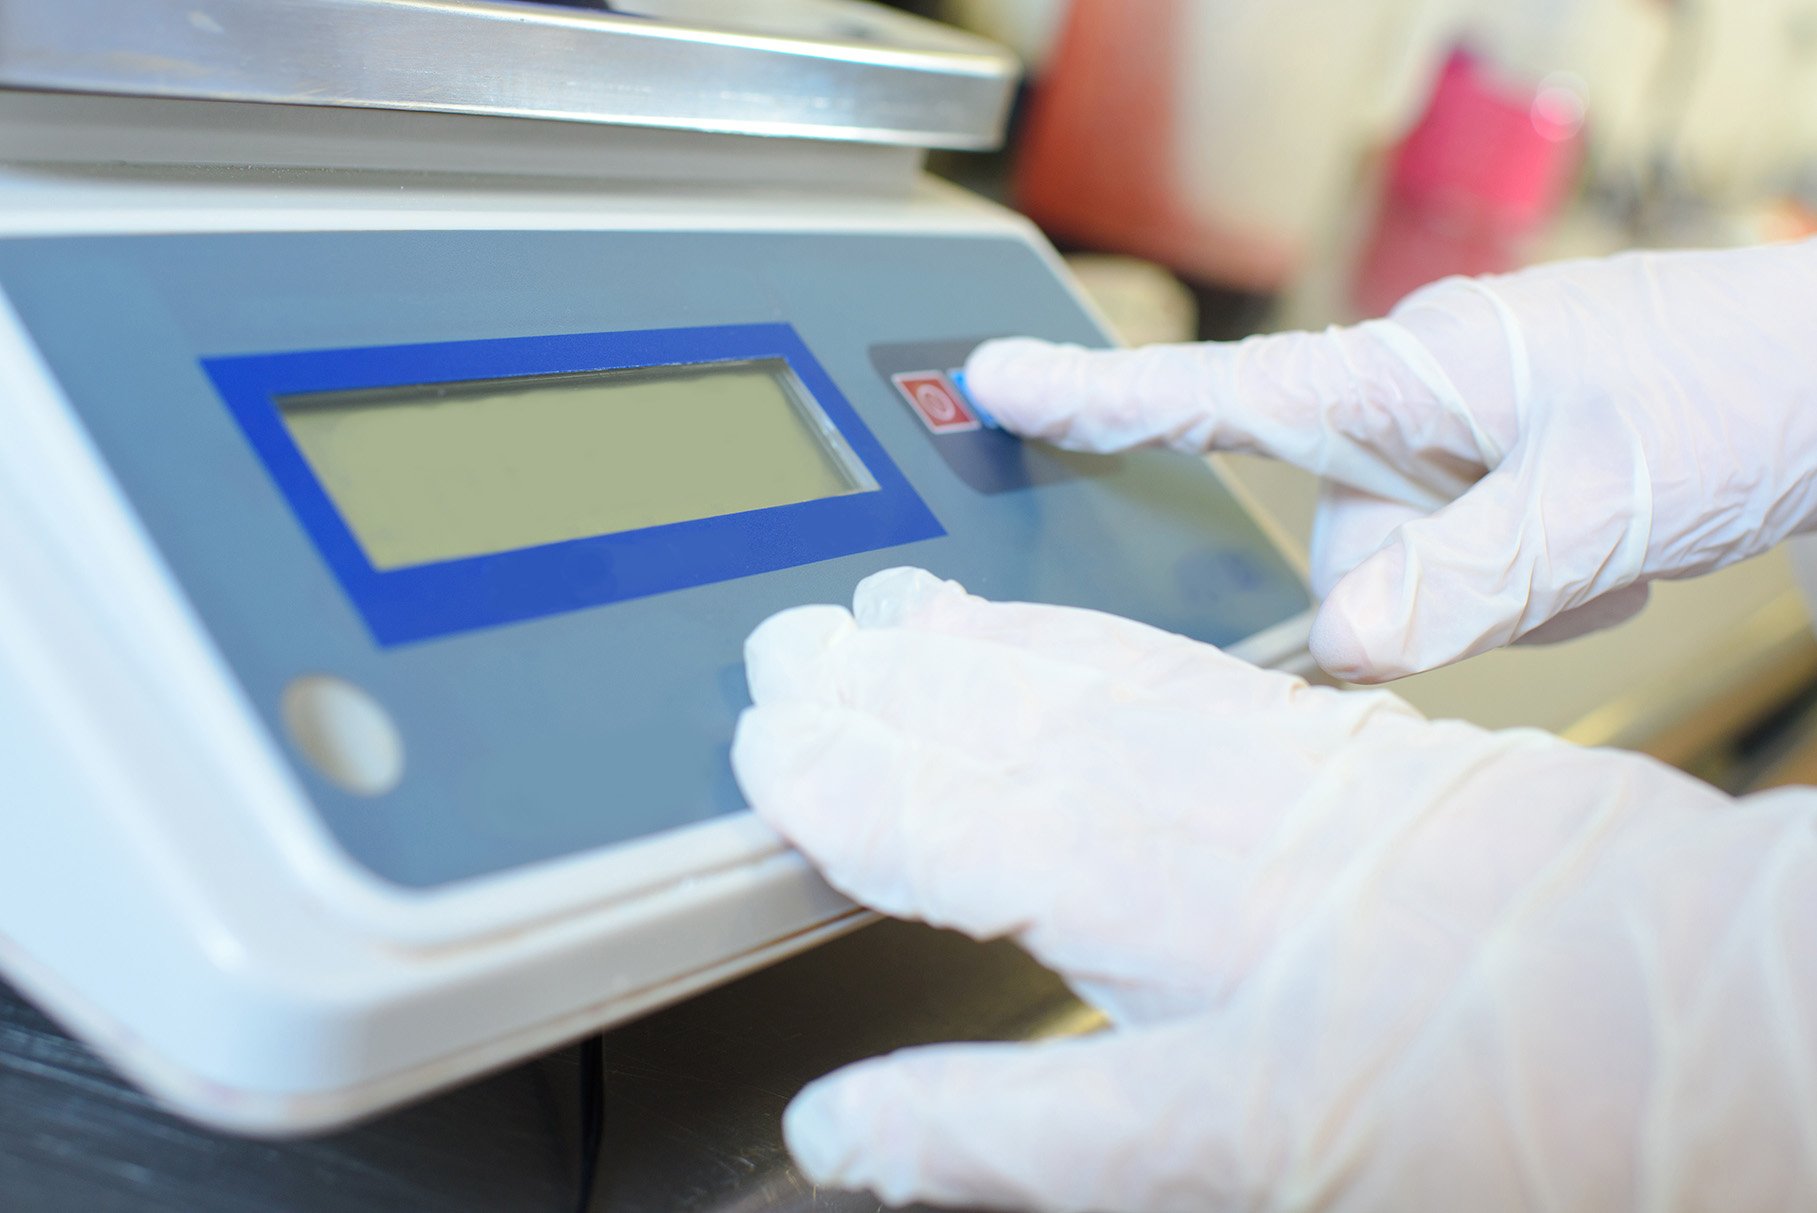
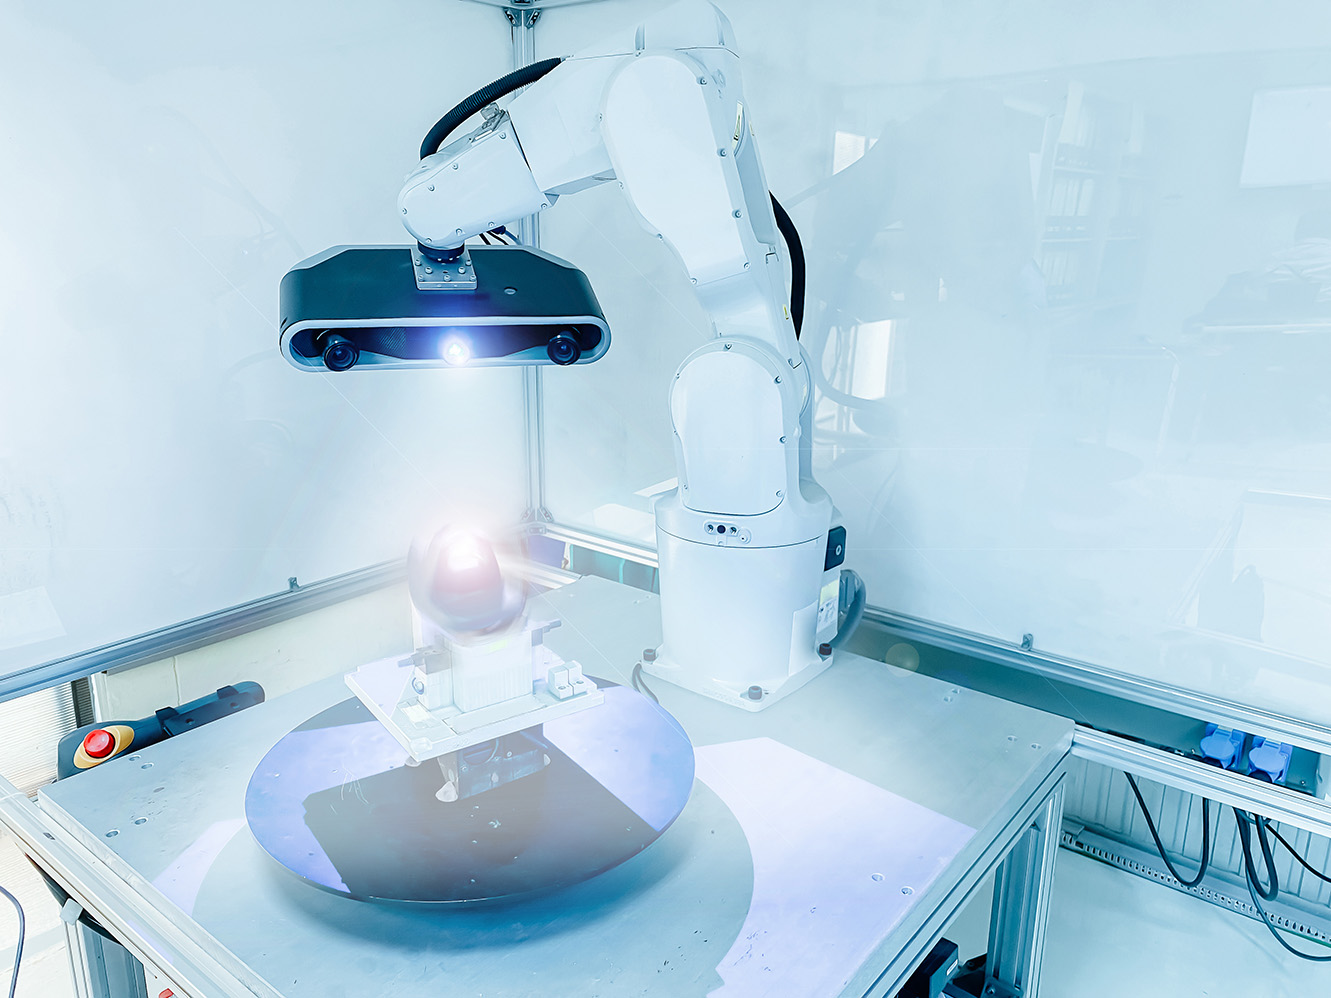
During optical density determination, the dimensions of the object to be tested are recorded in their entirety and the volume is determined. This is followed by weighing for mass determination and the resulting density determination of the component.
Advantages:
- fast method for density determination
- very well suited for simple and regular geometries
Disadvantages:
- Dependent on the resolution of the sensors
- high acquisition costs
- Unsuitable for the analysis of complex geometries
